Removing and Replacing a PSU and Power Cords
-
Use ESD precautions when performing these procedures.
-
Read Replacing System Components before you remove any system components.
-
Utilisez les précautions ESD lors de l'exécution de ces procédures.
-
Lisez Replacing System Components avant de retirer des composants du système.
To remove a PSU
-
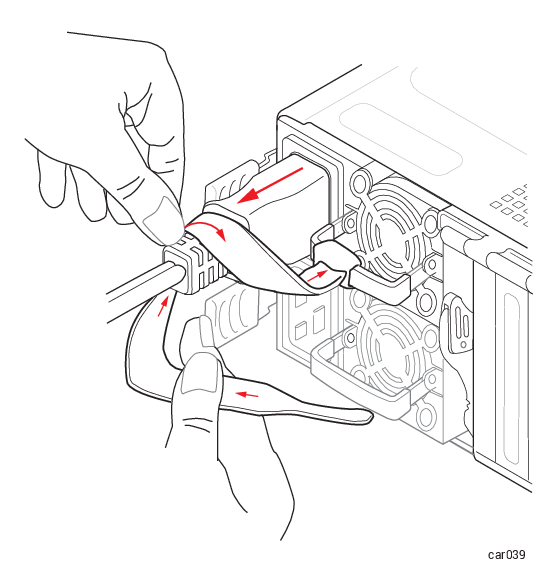
Unwrap the power-cord retention strap, and then disconnect the power cord. See Figure 48.
Figure 48: Disconnecting Power Cord and Retention Strap
-
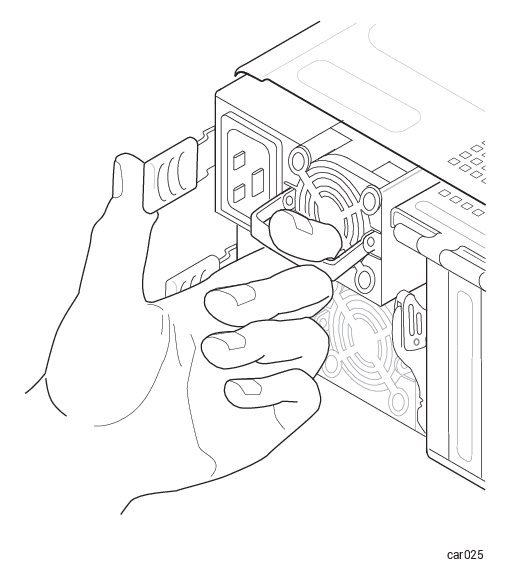
Push the release lever to the right while pulling the handle until the PSU releases. See Figure 49.
Figure 49: Pushing PSU Release Lever
-
Release the release lever and pull the PSU out of the system chassis.
To replace a PSU
-
Slide the PSU into the system chassis until it stops.
-
If necessary, push the release lever to the right and gently push the PSU in until it is fully seated and the release lever latches.
-
Connect the power cord, and perform the steps in To fasten the power-cord retention strap.
To replace both power cords
-
Power off the system as described in Shutting Down the System.
-
Disconnect all communications cables from the system.
-
Unwrap the power-cord retention straps, and then disconnect the power cords from the PSUs and the power sources.
-
Wait for all LEDs in the front and rear of the system to turn off, including the LEDs on both PSUs. All LEDs turning off indicates that the standby voltages have dissipated.
-
Replace the two power cords, using the correct power cords for the voltage being used, and fasten the power-cord retention straps.
-
Reconnect all communications cables to the system.