Installing the System in a Cabinet
The general steps for installing the ztC Endurance system in a cabinet are as follows:
-
Number the vertical rails
-
Prepare the support rails for installation
-
Attach the support rails and insert the system into the cabinet
However, before installing the system in a cabinet, make sure that:
-
You read and understand all safety precautions in Safety Precautions.
-
You read and understand all of the installation steps.
-
Your cabinet meets the system requirements, and the site has been properly prepared (see Cabinet Requirements).
-
You write down the asset ID, which is located on top of the system chassis (see Figure 11), and store it in a convenient location.
Caution: Making note of the asset ID now is important. After you install the system, the asset ID label may not be visible in the cabinet, and you need to provide the asset ID during the software installation.Figure 11: Location of Asset ID
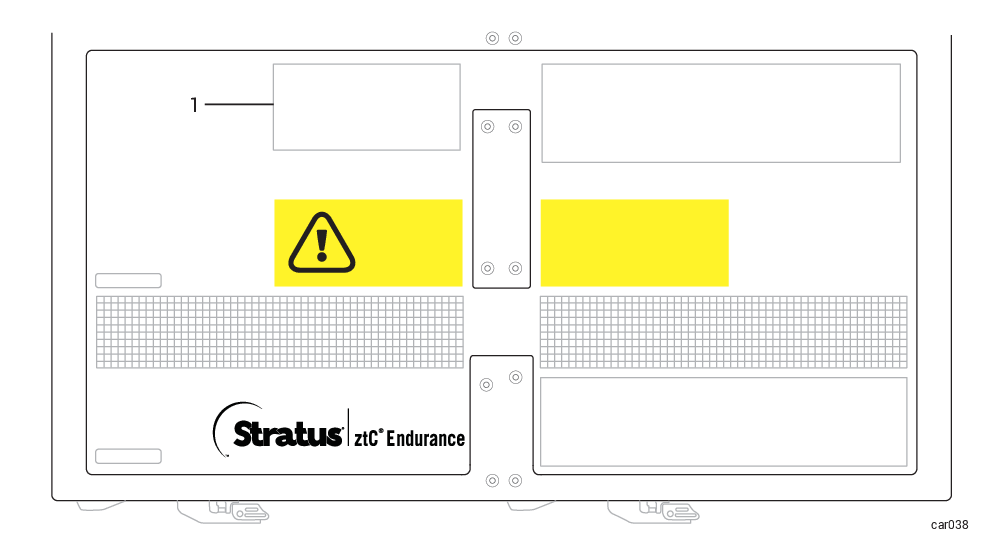
1 Label with asset ID -
You have the components to install:
-
Support rails (2). One is labeled FRONT LEFT, and the other is labeled FRONT RIGHT. The rails can be extended from 26 3/8 in. (670 mm) to 34 ¼ in. (870 mm).
-
Package labeled R0897-E0112-01 that contains eight flat-head alignment screws (silver). Use these screws to align the mounting rails to the cabinet during installation.
-
Package labeled R0897-E0113-01 that contains four Phillips/hex-head screws (black). Use these screws to secure the rail to the rear of the cabinet.
-
-
You have the required tools: a flat-head screwdriver and a #2 Phillips-head screwdriver.
Next Steps
Start installing the system in a cabinet as described in Numbering the Vertical Rails.