Removing and Installing a PCIe Adapter
-
You do not need to shut down a ztC Endurance system when you remove or install PCIe adapters. You simply remove one I/O module, remove/install PCIe adapter(s), and reinstall the I/O module. Repeat this procedure for the other I/O module.
-
Supported PCIe adapters that contain small form-factor pluggable (SFP) modules take up the length of an entire PCIe slot. To more easily remove or install these longer adapters, first remove the SFP modules as noted in the following procedures.
To remove a PCIe adapter
-
When handling PCIe adapters, hold them securely by their edges. Do not touch their electronic elements.
-
Always store a PCIe adapter in its static-protective envelope if it is not installed in the system.
-
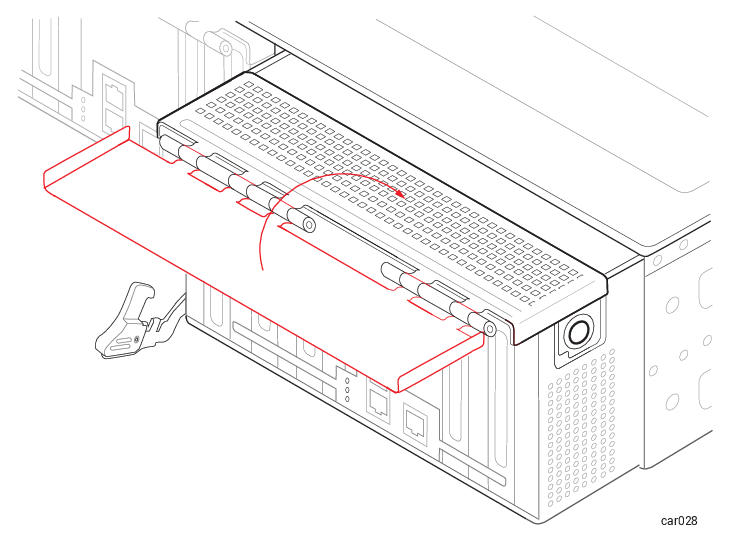
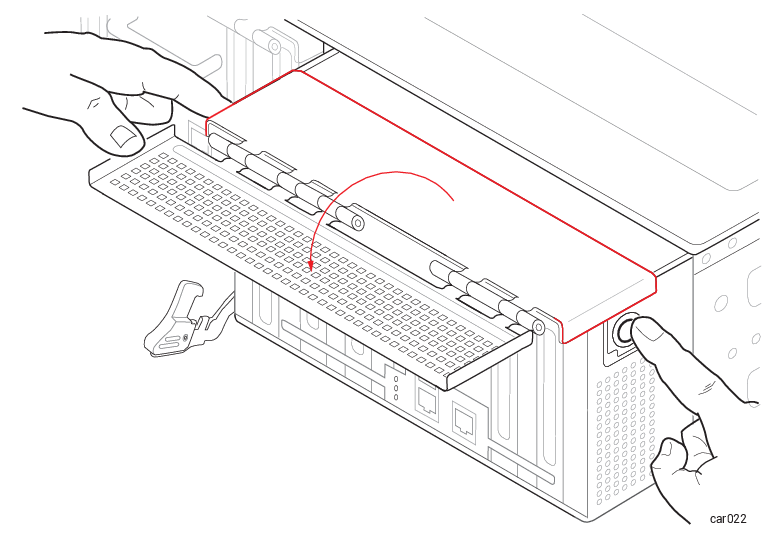
Disengage the metal cage by pushing the buttons on each side of the I/O module, and then flip the metal cage open. See Figure 42.
-
If your PCIe adapter contains SFP modules, remove them and go to the next step.
Otherwise, go to the next step.
-
Pull the PCIe adapter out of its connector. See Figure 43.
Figure 43: Removing PCIe Adapter
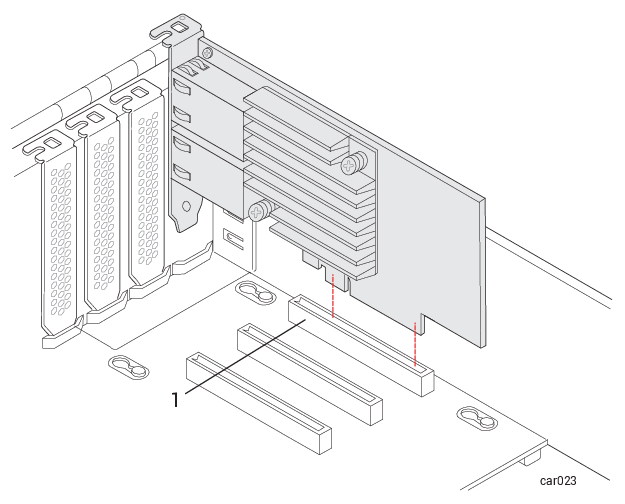
1 Connector -
If the adapter does not disconnect easily, use a firm side-to-side tugging motion while maintaining steady pressure on the adapter.
To install a PCIe adapter
-
If the PCIe adapter contains SFP modules, remove them and go to the next step.
Otherwise, go to the next step.
-
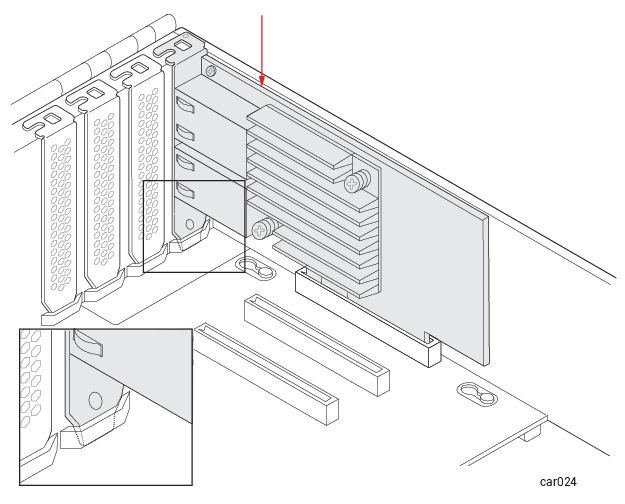
Install the PCIe adapter firmly into its connector. To do so, apply pressure to the part of the PCIe adapter located above the far side of the board connector (see arrow in Figure 44). Once installed, make sure that the PCIe adapter’s top bracket is flush with the chassis.
Figure 44: Installing PCIe Adapter
 Notice: If the PCIe adapter is not seated correctly, the metal cage cannot close properly. This may lead to the I/O module becoming lodged in the chassis.
 -
If you removed SFP modules earlier, reinsert them in the PCIe adapter and go to the next step.
Otherwise, go to the next step.
-
Flip the metal cage closed until it clicks. See Figure 45.